Last updated:
Sweet Olive repairs and maintains ducted heat pumps across New Orleans, and the first hot afternoon after a storm is when a lot of systems get switched back on at once. Before you turn yours on, spend ten minutes looking. Every check below needs only your eyes; none of them needs a tool, a trip into the attic or a hand inside the cabinet.
The Atlantic hurricane season runs from June 1 to November 30, so this check can come at the start of summer or with the last storms of the fall. Do it in order: water first, then debris, then power, then a short test run. If anything in the first two steps looks wrong, stop there and ask for a repair visit.
Did water reach the outdoor unit or the air handler?
This is the one check that decides whether you switch anything on at all.
FEMA notes that heating and cooling equipment is not designed to withstand flooding. Floodwater gets into the fan motor, the control board and the wiring connections, and it leaves silt behind that dries in place. A unit that looks fine from the street can still have water damage inside the cabinet.
Look for a mud or water line on the outdoor cabinet, silt on the pad, and debris caught against the coil fins. Where the house is raised, check the crawlspace too: ducts and sometimes the air handler sit under the floor, and a duct that took on water holds it.
If water reached any part of the system
Leave the breaker and the thermostat off, and have the system checked before it runs. Running it wet risks the parts that survived. Our warning signs guide explains what a technician looks at first.
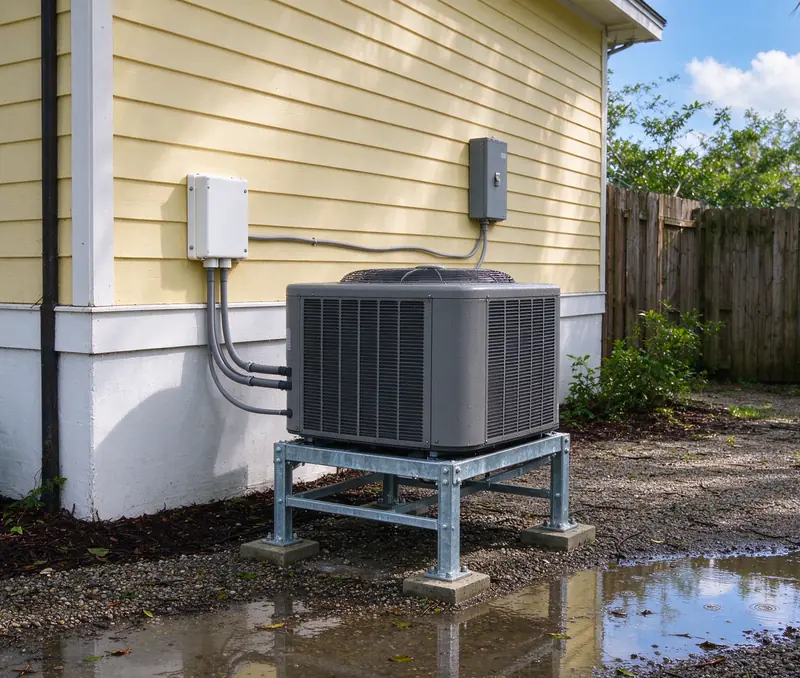
What to look at around the outdoor unit
Wind moves things. Look from where you stand, and leave the cabinet closed.
- The top grille. Leaves, branches or roofing debris on top block the fan’s discharge. Lift off loose debris by hand only if the system is off at the breaker.
- The coil sides. Fence boards, bins or limbs against the fins starve the coil of air. Manufacturers set clearances around the cabinet, and the model’s manual governs.
- The pad or stand. A unit that shifted, tilted or sank on washed-out soil can strain the refrigerant lines where they leave the cabinet.
- The line set. Torn or missing insulation on the larger copper line, or a line that is kinked or pulled, needs attention before the system runs.
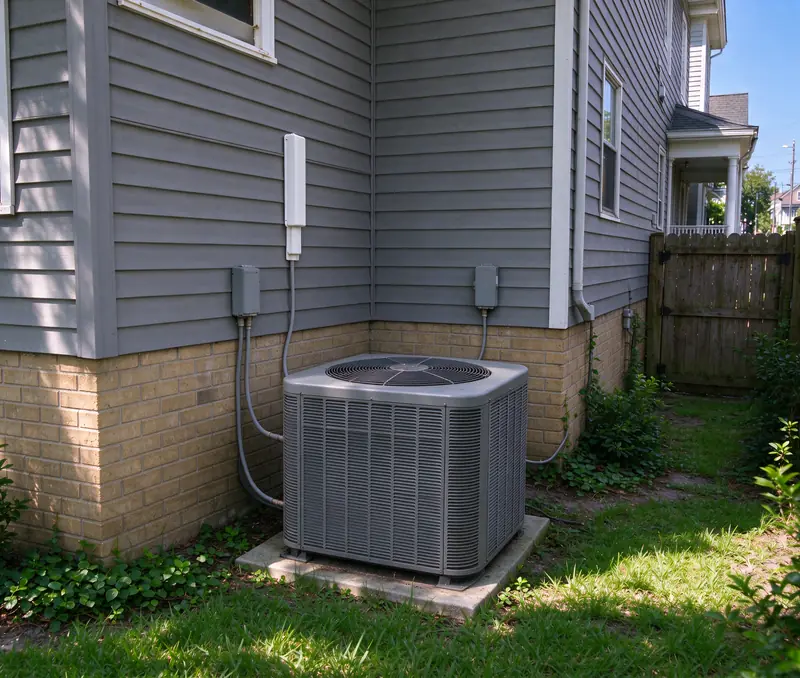
- The disconnect box. The outdoor switch box on the wall should be closed and dry, with its cover in place.
Don’t reach through the fan guard, open a service panel or hose the unit down with the power on. If the spot itself keeps collecting debris or water, the outdoor unit placement guide covers where a unit can sit instead.
Turning the power back on
Power that flickers on and off is hard on a compressor. Give it a steady supply before you ask for cooling.
Set the thermostat to off before the power comes back, and leave it there until the supply has been steady for a while. When you switch to cooling, set it only a few degrees below the room temperature. Many heat pumps wait a few minutes before the compressor starts, so a quiet outdoor unit in the first minutes is not a fault on its own.
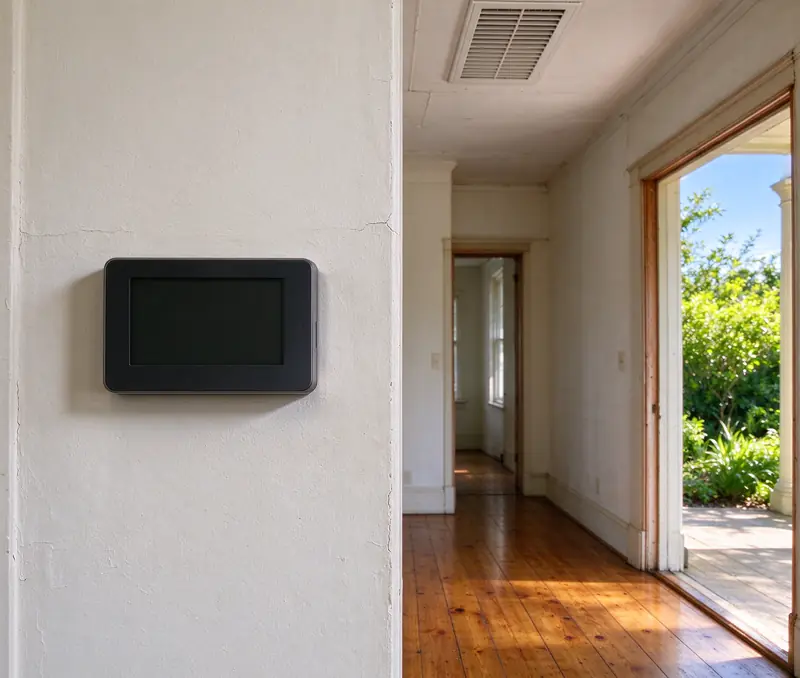
Check the thermostat’s screen. A control that lost power may have lost its schedule or reverted to a default mode, and some run the backup heat strip if the setting changed. If a breaker for the system trips, reset it once at most. If it trips again, leave it off: a breaker that keeps tripping is protecting something, and the cause is for a technician to find. The electrical readiness guide explains what those circuits feed.
The ten-minute test run
Stay near the system for the first run, and listen as much as you look.
The first minutes
Outdoors, the fan should spin and the compressor should start with a steady hum. Indoors, the blower should move air from the registers. Grinding, rattling or a loud buzz with no fan movement means switch it off at the thermostat.
After about ten minutes
Air at a supply register should feel clearly cooler than the room. The larger copper line at the outdoor unit should feel cool, not frosted. Ice on either line, or warm air at the registers, ends the test.
After about half an hour
The condensate drain should be dripping where it ends outside. Water around the indoor unit, or in the secondary pan under an attic air handler, means the drain is blocked. A burning or electrical smell at any point means off at the breaker.
When to call for a visit
Any one of these is enough. Photos help us arrive with the right parts in mind.
- Water reached the outdoor unit, the air handler or the ducts.
- A breaker for the system tripped twice.
- The system runs but the air at the registers isn’t cooler than the room.
- Ice forms on the lines or the outdoor coil.
- There is water around the indoor unit or in its pan.
- The unit moved, tilted or took a hit from a limb.
- A new noise or smell started after the storm.
Tell us what you saw and send photos of the outdoor unit, any water line and the thermostat screen. A repair visit starts with the diagnosis, and if the storm exposed older problems, an inspection puts the whole system on record. The maintenance checklist shows what routine care records, so the next storm check has something to compare against. When you’re ready, request an estimate.